Wells Cathedral Scissor Arches are a subject I’ve returned to many times. The arches are one of the sights that visitors to Wells seek out.
Medieval Cathedrals took an extraordinarily long time to build and often had to be rebuilt or redesigned when things didn’t work out as planned. Wells Cathedral’s Scissor Arches are not modern, as most people realise, but they were not part of the original design.
In the 13th century the original central tower was damaged by an earthquake. The rebuilding took decades to complete, but then cracks began to appear. The new, higher tower was too heavy for the foundations and piers below, the extra weight could have caused a collapse.
The Scissor arches were added between 1338 and 1348 by master mason William Joy, to brace the piers. The masons who built the Cathedral were masters of their craft, and they knew their materials well. In building the cathedrals they pushed materials to the limit and sometimes beyond.
If the cathedral was being built today, a computer model would predict problems with the tower before they happened and scissor arches would not be required. There is a lot to be said for craftsmen and artists who do not quite know the limits of their materials and techniques and are willing to risk failure.
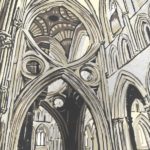
Without the scissor arches the view along the nave would have been very different. In the print above you can see why some people refer the the arches as the “oxo.”
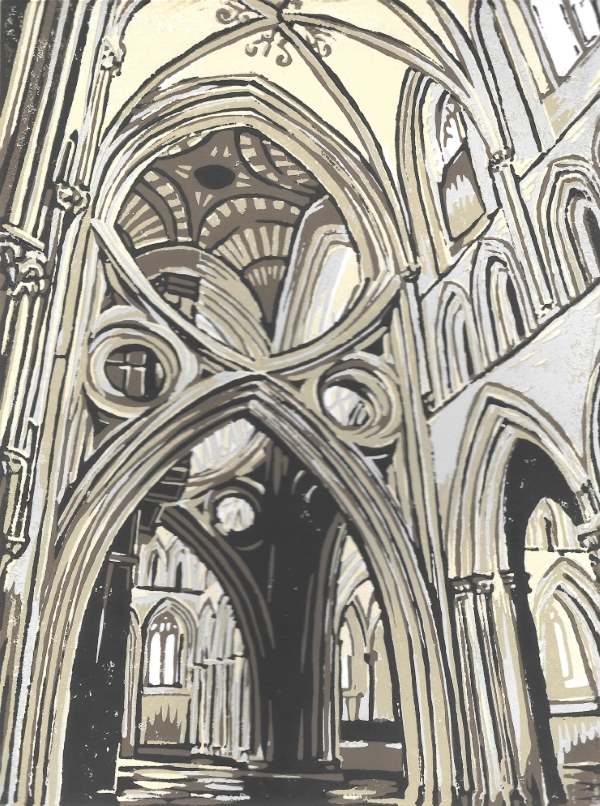
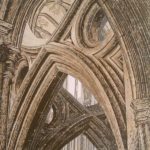
This is a five colour reduction print of the scissor arches, a closer view, looking up towards the decorated ceiling.
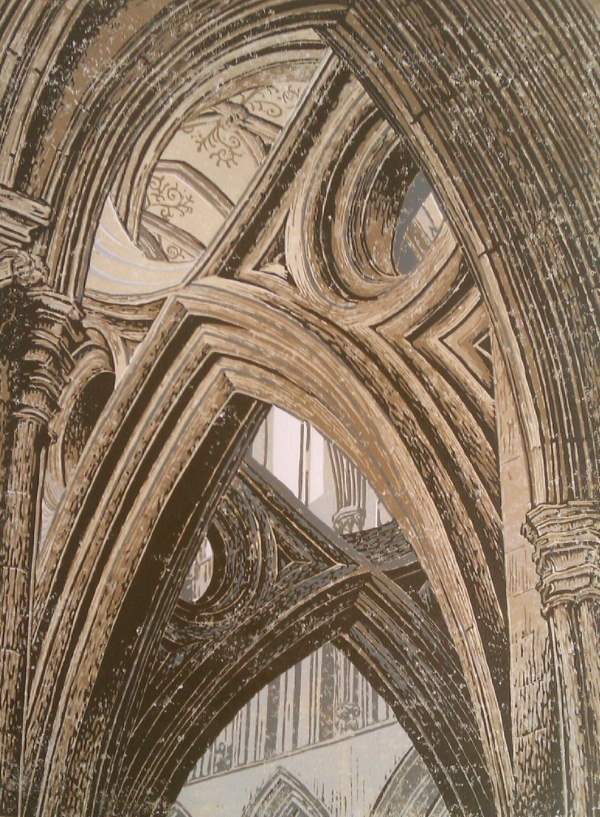
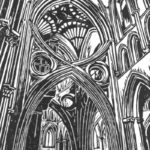
In this larger print I wanted to give a sense of the massive scale of the arches and to contrast the light on the foreground arch with the shadows on the one behind it.
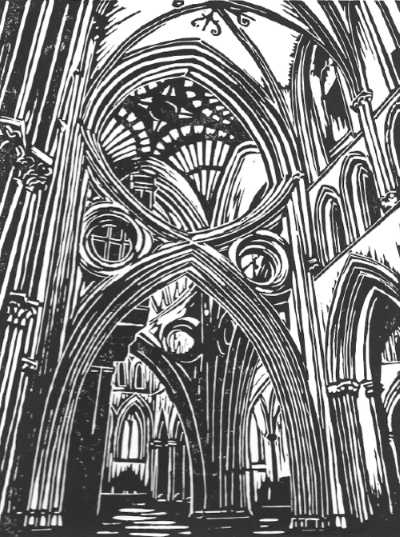
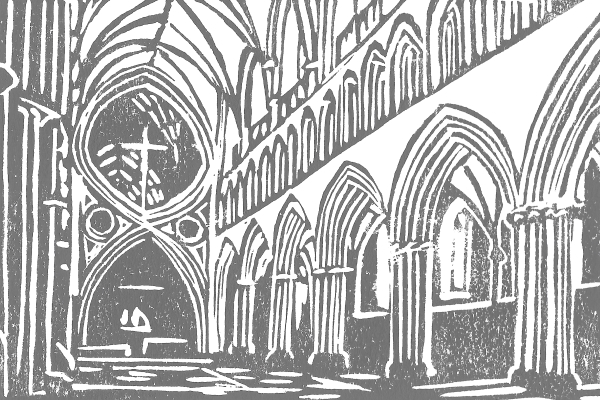
This print shows the same view as the reduction print, but being monochrome it is very different. In linocut printmaking, particularly with a monochrome print like the one above, the marks you make to depict a scene have to be precisely and carefully considered. The choice of tools can be the determining factor in achieving the effect you want. A “V” shaped tool for a sharply focussed line or a “U” shaped one for a rounder softer effect.